

Sunbeam Microwave Instruction Manual: A Comprehensive Guide
Welcome to effortless cooking! This manual details your Sunbeam microwave’s features, operation, and safety guidelines for optimal performance and lasting enjoyment.
Before you begin, please take a moment to familiarize yourself with this Sunbeam microwave oven. This section provides crucial information to ensure safe and effective operation. Your new microwave is designed for convenient and efficient cooking, reheating, and defrosting. However, improper use could lead to potential hazards.
Prioritize safety! Carefully read and understand all instructions in this manual, especially the ‘Important Safety Instructions’ section. This appliance is intended for household use only. Modifications or use for commercial purposes are strictly prohibited and will void the warranty. Keep this manual readily available for future reference, and share the safety precautions with all household members.
Remember, responsible operation guarantees both your safety and the longevity of your Sunbeam microwave. Ignoring these guidelines could result in damage to the unit or, more seriously, personal injury.
1.1 Welcome & Model Overview
Congratulations on your purchase of a Sunbeam microwave oven! We are confident that this appliance will become a valuable addition to your kitchen, simplifying your meal preparation and offering convenient cooking solutions. This model, designed with both functionality and style in mind, boasts a range of features to meet your diverse culinary needs.
Specifically, this manual applies to model number [Insert Model Number Here – e;g., SBM1234]. Please verify that this is the correct manual for your appliance. The Sunbeam microwave offers various power levels, pre-programmed cooking modes, and user-friendly controls for effortless operation.
Throughout this guide, we will walk you through each feature, providing clear instructions and helpful tips. We encourage you to explore the capabilities of your new microwave and discover how it can enhance your cooking experience. Enjoy the convenience and efficiency of Sunbeam!
1.2 Important Safety Instructions – Read First!
Your safety is paramount! Before operating your Sunbeam microwave, carefully read and understand all instructions in this manual. Failure to follow these safety guidelines could result in personal injury or damage to the appliance. Never operate the microwave if the door does not close properly or if the seals are damaged.
Do not use outdoors. This appliance is intended for household use only. Avoid operating the microwave empty, as this can damage the magnetron. Always use microwave-safe containers and utensils. Metal objects can cause sparks and a fire hazard. Supervise children when they are near the microwave.
Caution: Hot surfaces! The microwave oven and its contents can become very hot during operation. Use oven mitts or pot holders when removing items; Regularly inspect the power cord for damage and discontinue use if any damage is found.
1.3 Electrical Grounding Requirements
Essential for safe operation! This Sunbeam microwave must be properly grounded to minimize the risk of electric shock. This appliance is designed for use with a standard 120-volt, 60Hz electrical outlet. Do not use an extension cord or adapter plug. If an extension cord is absolutely necessary, ensure it is a heavy-duty, three-wire cord with a grounding plug.
Never alter the power cord plug. If the outlet is a two-prong outlet, it is the user’s responsibility to have it replaced with a properly grounded three-prong outlet by a qualified electrician. Improper grounding can result in a shock hazard. Always ensure the voltage of your power supply matches the voltage specified on the appliance’s rating label.
Warning: Improper connection of the equipment-grounding conductor can result in a risk of electric shock. Contact a qualified electrician if you are unsure about grounding procedures.
Getting Started: Parts & Features
Familiarize yourself with your new Sunbeam microwave! Before first use, take a moment to identify all the components and understand their functions. This section provides a detailed overview of everything included in the package and a comprehensive guide to the microwave’s parts. Knowing these elements will ensure a smooth and efficient cooking experience.
We’ll cover the package contents checklist, verifying you have all necessary items. Next, we’ll identify each part of the microwave oven itself – from the turntable and wave guide cover to the door latch and ventilation system. Finally, we’ll thoroughly explain the control panel, detailing each button and the display’s indicators.

Pro Tip: Keep this manual handy for quick reference as you explore your microwave’s capabilities!
2.1 Package Contents Checklist
Ensure everything is present! Carefully unpack your Sunbeam microwave and verify all components are included. This checklist will help you confirm you’ve received everything necessary for immediate use. Please contact Sunbeam Customer Support immediately if any items are missing or damaged.
Your package should contain the following:
- Sunbeam Microwave Oven: The main unit itself.
- Glass Turntable: For even cooking.
- Turntable Support Ring: Holds the turntable in place.
- Instruction Manual: This document!
- Quick Start Guide: A simplified guide for basic operations.
- Warranty Card: Details your warranty coverage.
Important: Retain the original packaging for potential warranty claims or if you need to transport the microwave. Inspect all items for shipping damage before discarding the packaging.
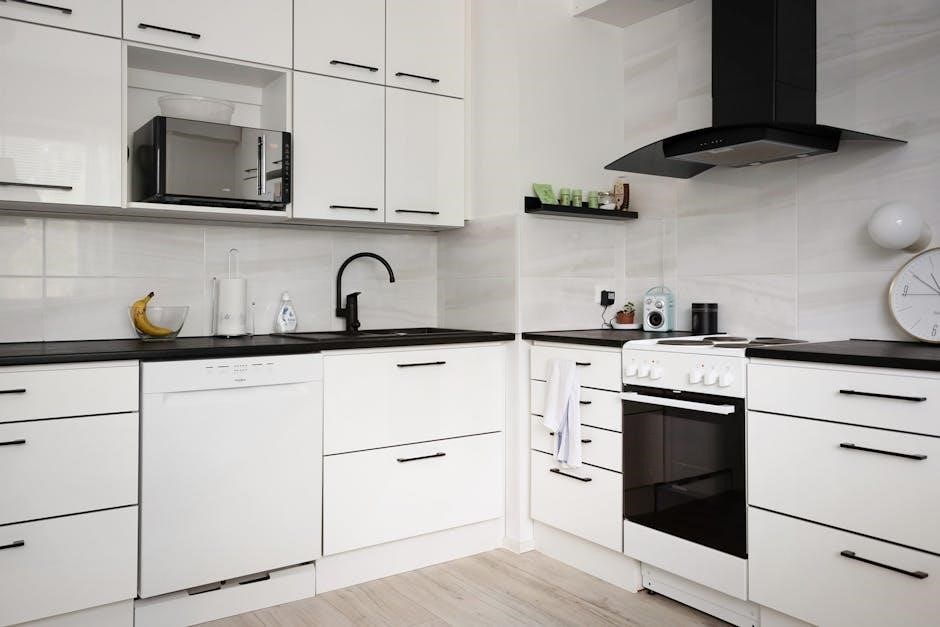
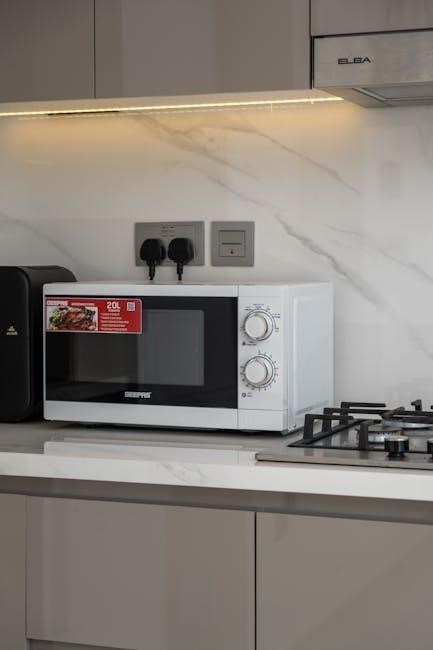
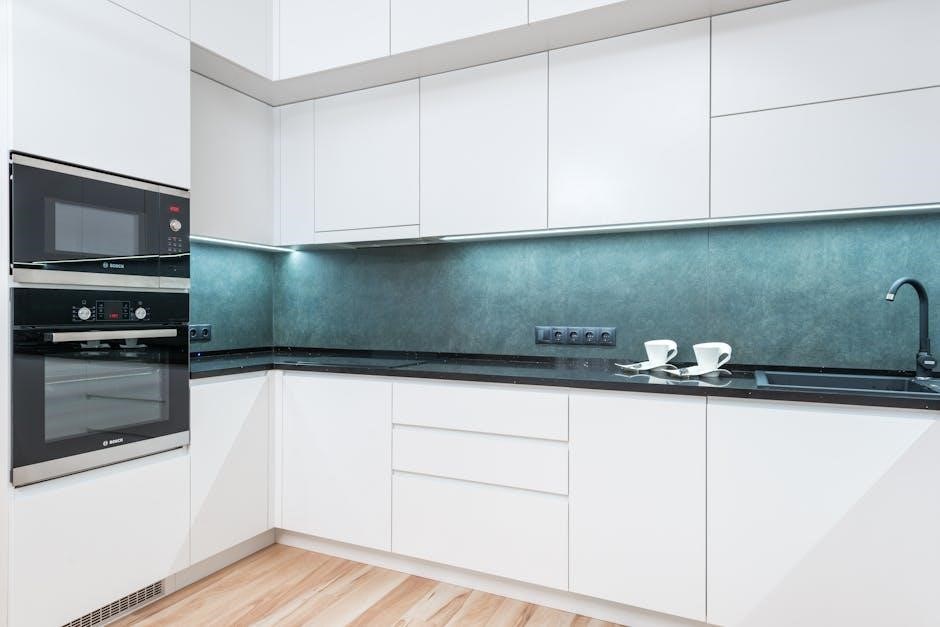
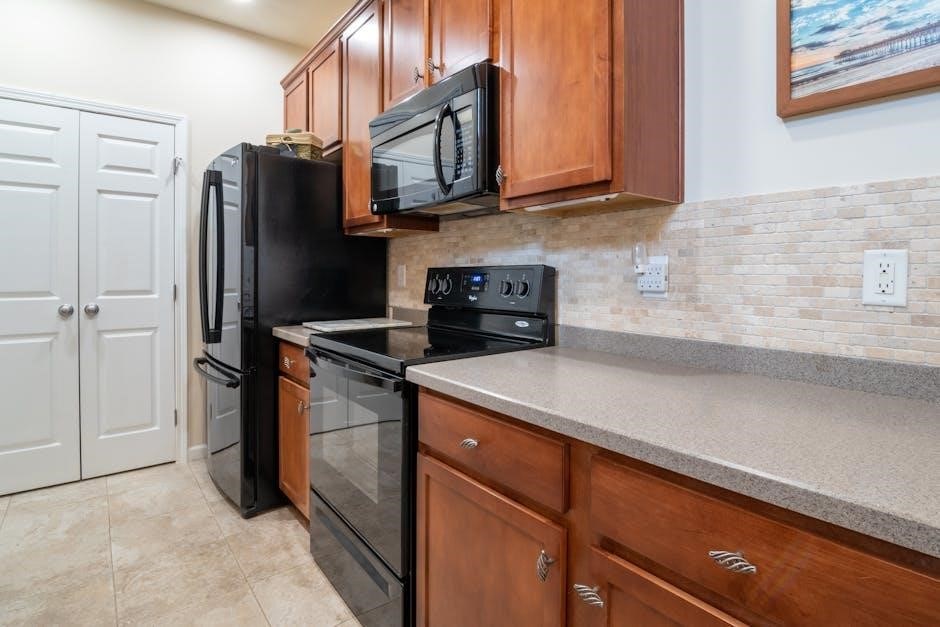
2.2 Microwave Oven Parts Identification
Familiarize yourself with your microwave! Understanding the different parts of your Sunbeam microwave will help you operate it safely and effectively. This section provides a detailed overview of each component and its function. Refer to the diagram on page 5 for visual assistance.
Key parts include:
- Control Panel: Houses the buttons and display for operation.
- Door: Provides access to the cooking cavity.
- Viewing Window: Allows you to monitor cooking progress.
- Turntable: Rotates food for even cooking.
- Turntable Support Ring: Supports the turntable.
- Waveguide Cover: Protects the microwave’s internal components.
- Ventilation Grills: Allow for proper air circulation.
- Power Cord: Connects the microwave to a power outlet.
Caution: Never operate the microwave with a damaged door or seals. Contact Sunbeam support for assistance.
2.3 Control Panel Explained – Buttons & Display
Mastering the controls is key! The Sunbeam microwave’s control panel is designed for intuitive operation. This section details each button’s function and explains the information displayed on the screen. Take a moment to familiarize yourself with the layout before first use.
Key Buttons:
- Number Pads (0-9): Used to enter cooking time and weight.
- Start/Stop: Begins or ends the cooking process.
- Power Level: Adjusts the microwave’s cooking power.
- Defrost: Activates the defrosting function.
- Popcorn: Starts the pre-programmed popcorn setting.
- Reheat: Initiates the reheat function for leftovers.
- Clock: Sets the current time.
- Timer: Sets a countdown timer.
Display: Shows cooking time, power level, and selected function. Error codes will also appear here if an issue arises.
Basic Operation: Cooking Fundamentals
Let’s get cooking! This section covers the essential steps for operating your Sunbeam microwave. Understanding these fundamentals will allow you to confidently prepare a wide variety of foods. Always ensure food is in a microwave-safe container before beginning.
Initial Steps: Begin by placing your food inside the microwave. Close the door securely. The display will illuminate, indicating the microwave is ready. Next, you’ll need to set the desired cooking time. Use the number pads to input the minutes and seconds.
Power Adjustment: Select the appropriate power level for your food. Higher power levels cook faster, while lower levels are ideal for delicate items. Finally, press the ‘Start/Stop’ button to initiate the cooking process. The microwave will automatically shut off when the timer reaches zero.
3.1 Setting the Cooking Time
Precise timing is key! To set the cooking time on your Sunbeam microwave, first ensure the unit is plugged in and the door is securely closed. The display will show “0:00” or a previously set time. Use the numeric keypad to enter the desired cooking time in minutes and seconds.
Entering Time: For example, to set a cooking time of 1 minute and 30 seconds, press “1”, “3”, and “0” sequentially. The display will then read “1:30”. Some models may have dedicated buttons for adding 30 seconds or 1 minute for quick adjustments.

Adjusting Time: If you make a mistake, simply press the “Clear” or “Cancel” button and re-enter the correct time. Remember that the maximum cooking time is typically 99 minutes and 59 seconds; Once the time is set, proceed to select the power level before pressing ‘Start’.
3.2 Power Level Selection – Understanding Percentages
Control the intensity! Your Sunbeam microwave offers variable power levels, expressed as percentages of the full microwave power. 100% power is ideal for quickly boiling or reheating liquids. Lower power levels are crucial for delicate tasks like defrosting or simmering, preventing overcooking and ensuring even heating.
Power Level Guide: 70% power is excellent for baking or gently reheating. 50% is perfect for simmering sauces or melting chocolate. 30% is best for defrosting delicate foods, and 10% is for keeping food warm.
Selecting a Level: After setting the cooking time, press the “Power Level” button. The display will show “100%”. Use the numeric keypad or arrow buttons to adjust the percentage to your desired setting. Press “Start” to begin cooking at the selected power level. Experiment to find what works best for your recipes!
3.3 Using the Start/Stop Button
Initiate and interrupt! The “Start/Stop” button is your primary control for beginning and pausing the cooking process. Once you’ve set the desired cooking time and power level, a single press of the “Start/Stop” button will initiate the microwave’s operation. The display will count down, showing the remaining cooking time.
Pausing Mid-Cycle: Need to check on your food or stir it? Press the “Start/Stop” button again to pause the microwave. The timer will stop, and the interior light will remain on. Pressing “Start/Stop” a second time will resume cooking from where it left off.
Cancelling Operation: To completely stop the microwave and clear the settings, press and hold the “Start/Stop” button for approximately three seconds. The display will reset, allowing you to begin a new cooking cycle. Always use caution when handling hot food!
Cooking Modes & Functions
Beyond basic heating! Your Sunbeam microwave offers a variety of pre-programmed cooking modes designed for convenience and optimal results. These functions automate time and power settings for common tasks, simplifying meal preparation. Explore the dedicated buttons on the control panel for features like ‘Defrost’, ‘Popcorn’, and ‘Reheat’.
Optimized Performance: Each mode is calibrated to deliver consistent cooking performance; The ‘Defrost’ function utilizes low power to thaw frozen foods evenly, preventing cooking. ‘Popcorn’ automatically adjusts settings for a perfect bag of popcorn. ‘Reheat’ gently warms leftovers without overcooking.
Function Selection: Simply select the desired mode, follow any on-screen prompts (such as entering the weight of the food), and press ‘Start’. Enjoy effortless cooking with specialized functions!
4.1 Defrosting – Weight & Time Options
Thawing made easy! The Sunbeam microwave offers two convenient defrosting methods: by weight and by time. Weight defrosting is ideal for packaged frozen foods with clearly marked weights, ensuring even thawing. Simply enter the weight of the item, and the microwave automatically calculates the defrosting time and power level.
Time Defrosting: For items without weight information, or for more control, use time defrosting. Press the ‘Defrost’ button, then manually enter the desired defrosting time. We recommend starting with a shorter time and checking the food’s progress, adding more time as needed to prevent cooking.
Important Note: Always remove food from any packaging before defrosting. Stir or rotate the food halfway through the defrosting cycle for more uniform results. After defrosting, cook immediately for best quality.
4.2 Popcorn Setting – Optimized for Convenience
Movie night made simple! The Sunbeam microwave features a dedicated ‘Popcorn’ setting, pre-programmed for optimal popping results with most standard microwave popcorn bags (1.75 ⎻ 3.0 oz). To use, simply place the popcorn bag, label side up, in the center of the microwave.
Press the ‘Popcorn’ button and the microwave will automatically set the appropriate time and power level. Listen carefully! The microwave will stop when the popping slows to 2-3 seconds between pops. Do not reopen the door immediately; allow a few seconds for any remaining kernels to pop.
Caution: Never attempt to microwave popcorn without using the ‘Popcorn’ setting, as this could result in burning. Always supervise the microwave while popping popcorn. For best results, follow the popcorn bag’s instructions.
4.3 Reheat Function – For Leftovers & More
Revive yesterday’s deliciousness! The ‘Reheat’ function is designed to gently and evenly warm leftovers, beverages, and pre-cooked meals. This setting utilizes a lower power level and sensor technology to prevent overheating and drying out your food.
To use the Reheat function, press the ‘Reheat’ button. The microwave will prompt you to enter the food type (e.g., beverage, vegetable, plate). Select the appropriate option using the number pad or arrow buttons. Alternatively, you can simply press ‘Start’ for a default reheat time.
The microwave automatically adjusts the reheating time based on your selection. For optimal results, ensure food is in a microwave-safe container. Always stir food halfway through the reheating cycle for even warming. Enjoy your revitalized meal!
Advanced Features & Settings
Unlock the full potential of your Sunbeam microwave with its suite of advanced features! These settings provide greater control and convenience, tailoring the cooking experience to your specific needs. Explore the benefits of sensor cooking, which automatically adjusts cooking times for optimal results, eliminating guesswork.
Prioritize family safety with the integrated Child Lock function, preventing accidental operation. Easily set and adjust the clock for accurate timekeeping, and utilize the built-in timer for reminders and precise cooking durations.
These features are designed to enhance your culinary experience, offering precision, safety, and ease of use. Refer to the following sections for detailed instructions on each advanced setting and how to customize them for your preferences.
5.1 Sensor Cooking – Automatic Adjustment
Sunbeam’s Sensor Cooking feature takes the guesswork out of meal preparation! This intelligent system detects the humidity released from your food during cooking, automatically adjusting the cooking time and power level for perfect results. To utilize this function, simply press the “Sensor Cook” button, then select the appropriate food category – options typically include potatoes, frozen vegetables, or reheat.
The microwave will then analyze the steam emitted, determining the optimal cooking parameters. Ensure the microwave door remains closed during the sensor detection phase for accurate readings. Note that sensor cooking is most effective with single-serving portions and covered dishes to retain moisture.
For best results, avoid opening the door until the cycle is complete. This feature provides consistently delicious meals with minimal effort!
5.2 Child Lock – Safety First!
Prioritizing safety, your Sunbeam microwave includes a Child Lock feature to prevent accidental operation by little hands. To activate the Child Lock, press and hold the “Child Lock” button (often symbolized by a lock icon) for approximately three seconds. A lock indicator will illuminate on the display, confirming activation.
When the Child Lock is engaged, all buttons will be disabled, rendering the microwave inoperable. This prevents unintended cooking or changes to settings. To deactivate the Child Lock, repeat the process – press and hold the “Child Lock” button for three seconds. The lock indicator will disappear, restoring normal functionality.
Remember to utilize this feature whenever children are present and unsupervised, ensuring a safe kitchen environment. It’s a simple yet effective safeguard!
5.3 Clock Setting & Timer Functionality
Accurate timekeeping is essential for precise cooking and utilizing the timer function. To set the clock, press the “Clock” button. The hour digits will flash. Use the number buttons to enter the correct hour, then press “Clock” again. The minute digits will now flash; enter the minutes using the number buttons and press “Clock” to confirm.
The timer function operates independently of the microwave’s cooking cycle. Press the “Timer” button, enter the desired time using the number buttons, and press “Start/Start” to begin the countdown. The timer will beep when the set time elapses.
You can check the remaining timer duration at any time during operation. The clock will automatically resume after the timer completes, or when the door is opened and closed.

Care & Maintenance
Maintaining your Sunbeam microwave ensures longevity and optimal performance. Regular cleaning prevents food buildup and unpleasant odors. Always unplug the microwave before cleaning. The interior should be wiped down after each use with a damp cloth and mild detergent. Avoid abrasive cleaners, as they can damage the surface.
For stubborn stains, heat a cup of water with a tablespoon of lemon juice for a few minutes, then wipe clean; The turntable and roller ring are removable and dishwasher-safe; The exterior can be cleaned with a damp cloth and mild soap.
Proper care extends the life of your appliance and keeps it functioning efficiently. Refer to the troubleshooting section for solutions to common issues before contacting customer support.
6.1 Cleaning the Interior – Simple Steps
Keeping the interior clean is crucial for hygienic cooking and preventing odors. Begin by unplugging the microwave. Remove the turntable and roller ring; these are dishwasher safe for easy cleaning. Mix a solution of warm water with a mild dish soap. Dampen a soft cloth with the solution and thoroughly wipe down the interior walls, ceiling, and floor.
For baked-on food, place a cup of water with 1-2 tablespoons of lemon juice or vinegar inside and microwave on high for 3-5 minutes. Let the steam loosen the debris, then wipe clean. Avoid using abrasive cleaners or scouring pads, as they can scratch the interior surface.
Rinse with a clean, damp cloth and dry completely before replacing the turntable and resuming use.
6.2 Cleaning the Exterior – Maintaining Appearance
To preserve the sleek look of your Sunbeam microwave, regular exterior cleaning is recommended. Always unplug the appliance before cleaning. Use a soft, damp cloth with a mild detergent solution to wipe down the door, control panel, and sides. Avoid harsh chemicals or abrasive cleaners, which can damage the finish.
For stubborn stains on the control panel, lightly dampen a cloth with water and gently wipe. Ensure no liquid enters the openings. The door should be cleaned with the same gentle approach, paying attention to any splatters or fingerprints.
Dry the exterior thoroughly with a clean, dry cloth after cleaning. This prevents water spots and maintains a polished appearance. Regular dusting will also help keep your microwave looking its best.
6.3 Troubleshooting Common Issues
If your Sunbeam microwave isn’t working, first ensure the power cord is securely plugged in. If the turntable isn’t rotating, check for obstructions or ensure it’s properly seated. For uneven cooking, verify the power level is appropriate and food is arranged evenly.
If food is sparking, immediately stop the microwave and remove any metallic containers or utensils. Never operate the microwave empty. If the door doesn’t close properly, inspect for debris or damage to the latch.
Should issues persist, consult the FAQ section or contact Sunbeam customer support. Do not attempt to repair the microwave yourself, as this could void the warranty and pose a safety risk. Always prioritize safety and proper operation.

Warranty Information & Support
Your Sunbeam microwave is covered by a limited warranty against defects in materials and workmanship for a period of one year from the date of original purchase. This warranty does not cover damage resulting from misuse, abuse, or unauthorized repairs.
To make a warranty claim, please retain your proof of purchase and contact Sunbeam Customer Support. We are dedicated to providing excellent assistance. For frequently asked questions, helpful tips, and additional resources, please visit our website.
Our support team is available via phone and email to address any concerns you may have. We value your satisfaction and are committed to ensuring your Sunbeam microwave provides years of reliable service. See section 7.1 for full warranty details.

7.1 Warranty Details & Coverage
This warranty covers defects in materials and workmanship under normal household use for one year from the purchase date. It includes parts and labor to repair or replace a defective product. Damage due to accidents, misuse, unauthorized modification, or natural disasters is excluded.
The warranty is void if the microwave is used commercially or subjected to voltage other than specified. We reserve the right to replace components with new or refurbished parts. This warranty gives you specific legal rights, and you may have other rights which vary by location.
To obtain warranty service, contact Sunbeam Customer Support with your model number, serial number, and proof of purchase. Do not return the unit without prior authorization. Shipping costs to and from the service center are the responsibility of the customer.
7.2 Contacting Sunbeam Customer Support
For assistance with your Sunbeam microwave, our dedicated customer support team is readily available. You can reach us via several convenient channels to address your questions or concerns.
Phone Support: Call our toll-free number at 1-800-SUNBEAM (1-800-786-2326) during business hours, Monday through Friday, 9 AM to 5 PM EST. Please have your model and serial number ready.
Online Support: Visit our website at www.sunbeam.com/support for FAQs, troubleshooting guides, and the option to submit a support request. Email Support: Send us an email at support@sunbeam.com, and we will respond within 24-48 hours. Mailing Address: Sunbeam Appliances, Customer Service Department, 123 Main Street, Anytown, USA 54321.
7.3 Frequently Asked Questions (FAQ)
Q: My microwave isn’t heating food. A: Ensure the door is securely closed. Check the power level setting; it may be set too low. Verify the cooking time is sufficient.
Q: The turntable isn’t rotating. A: Make sure the turntable is properly seated on the drive shaft. Clean the turntable and roller ring to remove any obstructions.
Q: How do I clean the interior? A: Wipe the interior with a damp cloth and mild detergent. Avoid abrasive cleaners. Q: Can I use metal containers? A: No, never use metal containers or utensils in the microwave.
Q: What does the “Error” code mean? A: Refer to the troubleshooting section for specific error code definitions. Q: How do I reset the microwave? A: Unplug the microwave for 60 seconds and then plug it back in.